Setting up an impact sprinkler or rain gun system for your farm or field is a bigger job than a small home garden setup, but it still comes down to four clear phases: designing the system, buying the right equipment, digging and laying the pipeline, and installing everything in place. Getting each phase right the first time saves you money, rework, and water down the road.
In this guide, we walk through all four phases in order, so you know exactly what to plan for before you dig a single trench.
Phase 1: Design Your Impact Sprinkler or Rain Gun System
Good design is the foundation of a good irrigation system. Rushing this phase is the most common reason systems end up with weak pressure, dry patches, or costly rework later.
Step 1: Physical Site Survey and Mark the Water Source
Walk the site and mark exactly where your water source is located — this could be a tube well, open well, canal, pond, or overhead tank. Note the distance from the water source to the farthest corner of the field you need to water, since this affects pipe length and pump size.
Step 2: Mark the Electrical Source Location
If your pump will run on electricity, identify where the nearest electrical connection or transformer is, and mark the safest, most practical spot to install the pump close to both the water source and the power supply. Keep the pump location away from flooding-prone spots and easy to access for maintenance.
Step 3: Sketch the Field Layout and Sprinkler Positions
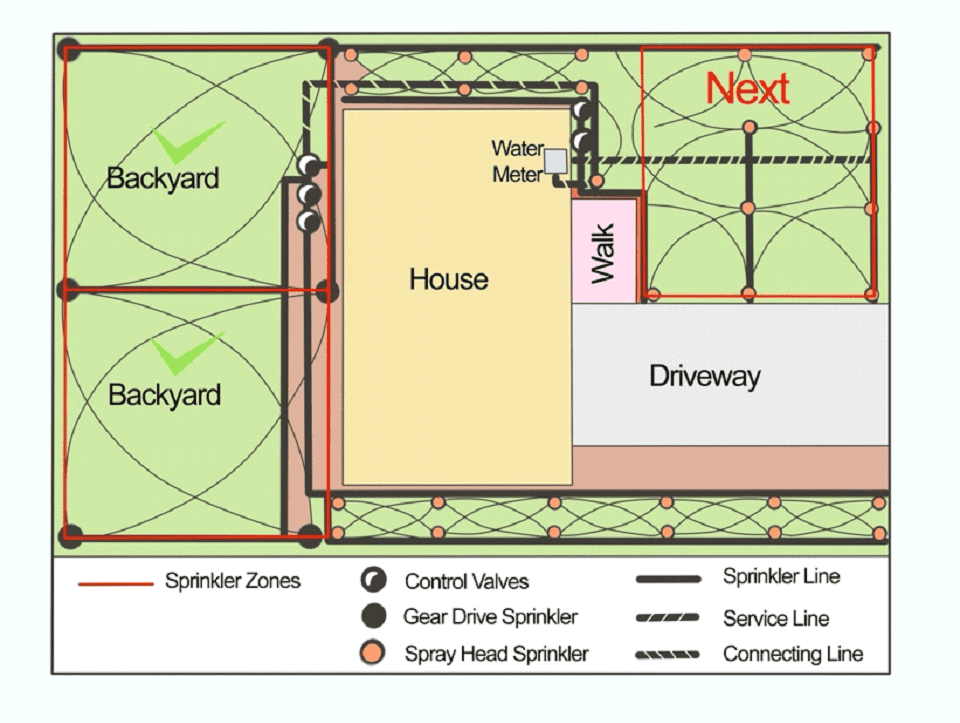
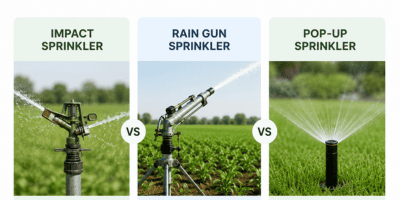
Draw a simple map of the field showing its shape and size. Mark where each impact sprinkler or rain gun will sit, keeping in mind that sprinklers should overlap slightly (head-to-head coverage) so no dry spots are left between them. Rain guns, having a much larger throw radius, need far fewer units spaced farther apart than impact sprinklers.
Step 4: Plan the Main Line and Pipe Branches Routes
Decide where your main line (the pipe carrying water from the pump to the field) and branch lines (the smaller pipes branching out to each sprinkler or rain gun) will run. Where possible, route the main line down the center of the field so lateral lines stay shorter on both sides, reducing pressure loss.
Step 5: Calculate Pump and Pipe Size Requirements
Based on the total number of sprinklers or rain guns running at once, their combined flow rate (liters or gallons per hour), and the distance water must travel, calculate the pump capacity and pipe diameter you’ll need. Longer distances and higher elevation both call for a stronger pump and, often, a larger pipe diameter to avoid pressure loss.
Phase 2: Purchase the Right Equipment
Once your design is finalized, it’s time to buy the equipment. Having your design numbers ready (flow rate, pressure, distances) makes it much easier to choose the correct sizes rather than guessing.
- Pump — sized to match your total flow rate (LPM) and the total pressure needed at the farthest sprinkler or rain gun (PSI or Bar).
- Main line and branch pipes — PVC or HDPE pipes in the diameter calculated during design, larger diameter for the main line, smaller for branches.
- Impact sprinklers or rain guns — chosen based on your required throw radius, flow rate, and operating pressure.
- Trolley or stands — to raise sprinklers or rain guns above the crop canopy for even coverage.
- Control valves — to turn different sections (zones) of the field on and off separately.
- Fittings — elbows, tees, couplers, and end caps to connect and direct the pipeline as per your layout.
- Filter — to keep sand, debris, and sediment out of the pump and sprinkler nozzles.
- Pressure gauge — to monitor system pressure and confirm your sprinklers or rain guns are getting the pressure they need.
- Electrical wiring and starter panel (if using an electric pump) — to safely connect the pump to your power source.
Phase 3: Digging and Piping According to Design
With your equipment on site, it’s time to prepare the ground and lay the pipeline exactly as planned in Phase 1.
Step 1: Mark the Trench Routes
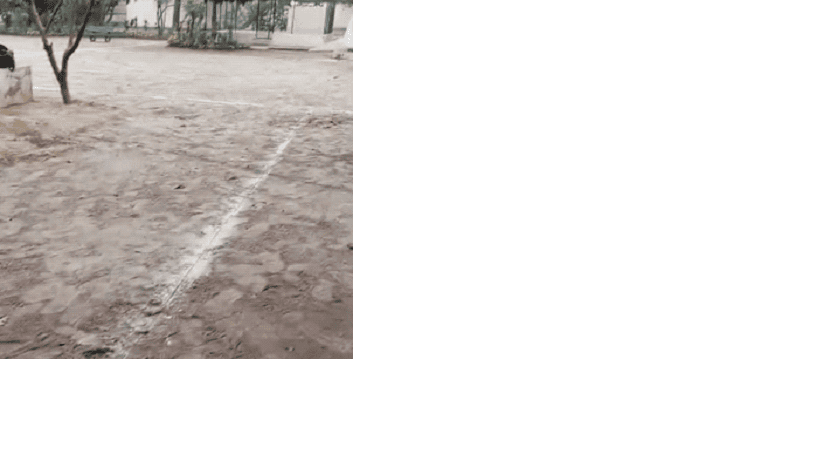
Using your design sketch, mark the exact path of the main line and branch lines on the ground with stakes or marking paint, following the routes you planned earlier.
Step 2: Dig the Trenches
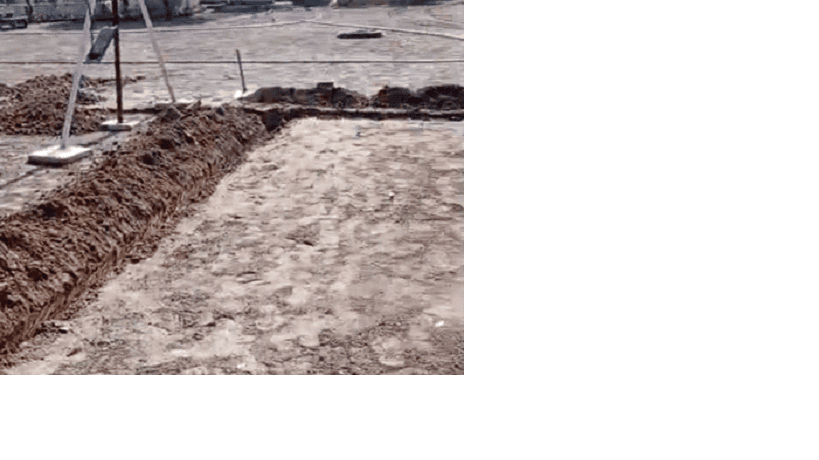
Dig trenches along the marked routes, deep enough to protect the pipe from farm machinery, foot traffic, and weather. Main line trenches are usually dug slightly deeper and wider than branch line trenches since they carry more water under more pressure.
Step 3: Lay the Main Line Pipe
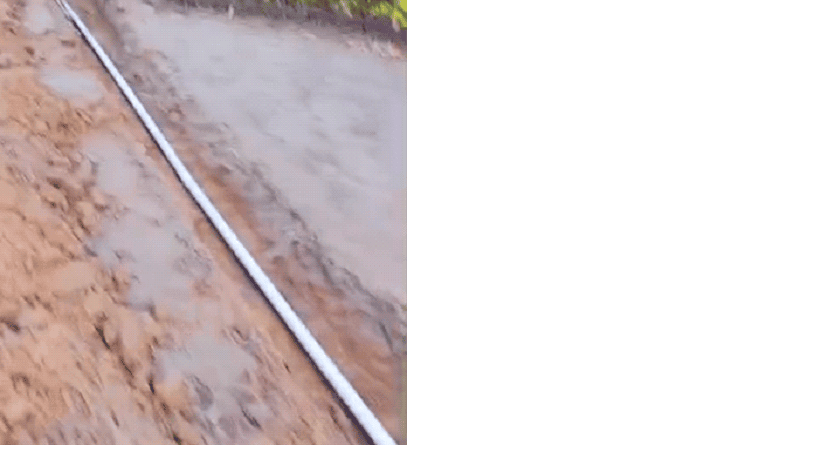
Place the main line pipe into the trench, connecting sections with couplers as you go. Check that every joint is properly sealed to prevent leaks and pressure loss before covering any pipe with soil.
Step 4: Lay the Branch Lines
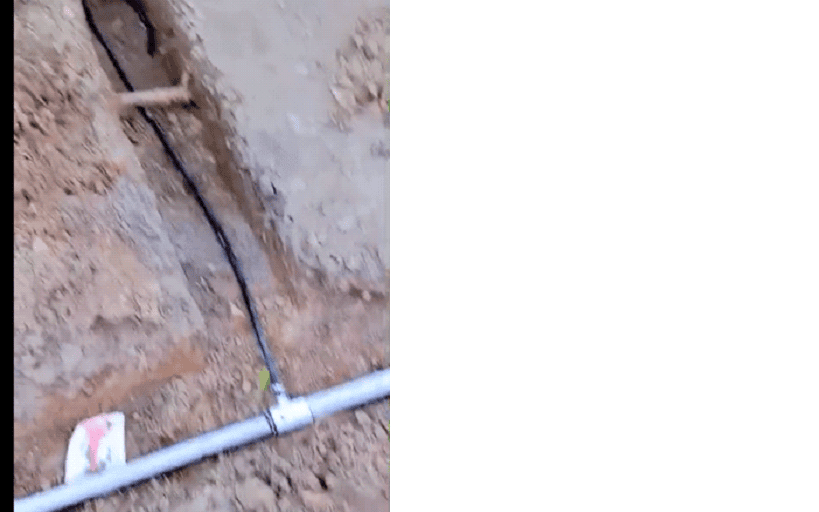
Branch off from the main line using tee fittings and lay the smaller branch pipes toward each planned sprinkler or rain gun position, following your layout sketch closely so spacing stays correct.
Step 5: Install Valves at Zone Points
At each point where you want to control a section of the field separately, install a control valve so that zone can be turned on and off independently of the rest of the system.
Step 6: Backfill the Trenches
Once all pipe connections are checked and confirmed leak-free, backfill the trenches with soil, packing it firmly around the pipe to prevent future shifting or exposure.
Phase 4: Installing the Equipment in Detail
With the pipeline buried and pressure-tested, the final phase is putting the pump, risers, and sprinklers or rain guns in place and getting the system running.
Step 1: Install and Connect the Pump
Mount the pump at the location marked during design, close to the water source. Connect the suction side to the water source and the discharge side to the main line pipe, making sure all connections are tight and properly sealed.
Step 2: Connect the Electrical Supply
If using an electric pump, connect the wiring to the starter panel and then to your power source at the electrical location marked earlier. It’s strongly recommended to have a qualified electrician handle this connection to avoid safety hazards.
Step 3: Install the Filter and Pressure Gauge
Fit the filter between the pump and the main line to protect the whole system from sediment and install the pressure gauge at a visible point on the main line so you can monitor system pressure immediately.
Step 4: Install Risers and Mount the Sprinklers or Rain Guns
At each marked position, install a riser pipe or stand tall enough to lift the sprinkler or rain gun above the crop canopy, then mount and secure the impact sprinkler or rain gun on top, checking that it sits level and stable.
Step 5: Flush the System Before Final Startup
Before attaching the sprinklers or rain guns for the final time, run water through the main line and branch lines briefly to flush out any dirt or debris left over from digging and piping.
Step 6: Test the Complete System
Turn on the pump and check every zone one at a time. Look for leaks at joints, confirm each sprinkler or rain gun is rotating and throwing water correctly, and check the pressure gauge reading against your design numbers.
Once everything checks out, your impact sprinkler or rain gun system is ready for regular use. Keep an eye on pressure readings and sprinkler performance during the first few irrigation cycles and make small adjustments to riser height or sprinkler angle as needed.
Important Note: Pipe and Pump Size Will Vary by Site
Every farm or field is different. The exact pipe diameter, pump horsepower, and number of sprinklers or rain guns needed will depend on your site’s specific water source capacity, field size, elevation changes, crop type, and desired coverage. The steps in this guide describe the general process — always calculate your own pump and pipe sizing based on your site’s actual flow rate, pressure, and distance requirements, or consult an irrigation professional to confirm your numbers before purchasing equipment.
Frequently Asked Questions About Impact Sprinkler and Rain Gun Installation
Need Help Choosing the Right Equipment to Buy?
For more professional guidance and a detailed layout quote, send us the AutoCAD file of your site (including both water source and electrical point locations). To learn more or get personalized advice on buying a submersible pump, fountain lights, fountain nozzles, fountain systems, drip systems, or sprinkler systems for your home or farm, contact us:
- Visit our website: okelectricalind.com
- Contact us on WhatsApp: +92 300-4282378 or +92 321-4888188